
If you want full control over your online store without paying high monthly fees, WooCommerce on Hostinger is one of the best setups in 2026. You get the power of WordPress, the flexibility of WooCommerce, and fast hosting that is built for ecommerce.
This guide walks you through the full setup so you can launch your store the right way.
Why Use WooCommerce with Hostinger
WooCommerce runs on WordPress, which means you control everything. You are not locked into one platform or limited by rules.
Here is why this combo works so well.
Flexibility
You can customize every part of your store. From design to checkout to emails, nothing is locked down.
Scalability
You can start with one product and grow to hundreds without switching platforms.
Performance
Hostinger offers fast servers, one click WordPress installs, and automatic backups. This keeps your store running smoothly as traffic grows.
Step 1: Get Hosting and Install WordPress
Go to Hostinger and choose a plan. The Business Website Builder plan is a popular choice for ecommerce because it has zero transaction fees and enough power to run a store.
After you sign up:
- Choose your domain
- Create your WordPress admin login
- Let Hostinger install WordPress for you
In a few minutes, you will have a live website.
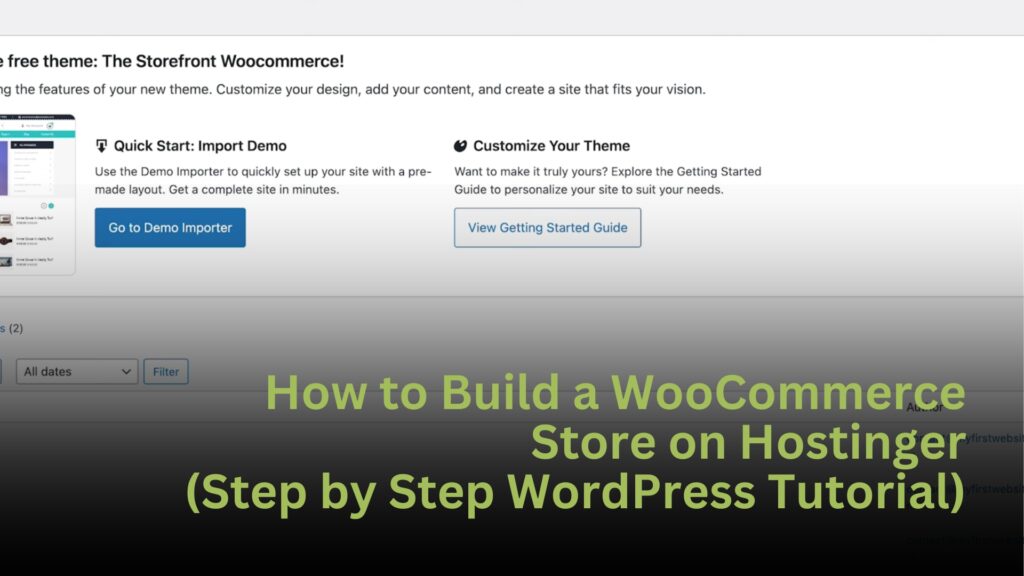
Step 2: Install WooCommerce
Log into your WordPress dashboard.
Click Plugins, then Add New. Search for WooCommerce and click Install, then Activate.
WooCommerce will guide you through a quick setup where you choose:
- Your store location
- Your currency
- What you plan to sell
Once done, your WordPress site becomes a store.
Step 3: Choose a Theme
Go to Appearance, then Themes.
Pick a theme that is made for ecommerce. Look for one that is:
- Mobile friendly
- Fast
- Clean and simple
A good theme makes your products easy to browse and buy.
Step 4: Add Products
Click Products, then Add New.
For each product, enter:
- Product name
- Description
- Price
- Sale price if needed
- Product images
- Inventory settings
Keep your descriptions simple and focus on benefits.
Step 5: Set Up Payments
Click WooCommerce, then Settings, then Payments.
Turn on payment methods like:
- PayPal
- Stripe
- WooCommerce Payments
The easier it is to pay, the more sales you will get.
Step 6: Set Up Shipping
Go to WooCommerce, then Settings, then Shipping.
Create shipping zones such as:
- United States
- International
Add simple rates like free shipping or flat rate. Customers like clear and predictable shipping costs.
Step 7: Secure Your Store
Make sure your SSL certificate is active. Hostinger gives this for free.
Your site should show HTTPS. This protects customer data and builds trust.
Step 8: Test and Launch
Before sharing your store, place a test order.
Make sure:
- Payments work
- Emails send
- Shipping rates apply
- Orders appear in your dashboard
If it works for you, it will work for customers.
Pros and Cons of WooCommerce on Hostinger
Pros
- Low monthly cost
- No forced transaction fees
- Thousands of plugins
- Full control
Cons
- You handle updates
- There is a learning curve
- You manage your own site
For most sellers, the freedom is worth it.
Tips for Better Results
- Use small image sizes so pages load fast
- Install an SEO plugin like Yoast
- Set up email capture to bring customers back
These small changes can double your sales over time.
Final Thoughts
WooCommerce on Hostinger gives you a powerful ecommerce system without high costs. You own your store, your data, and your brand.
If you want flexibility and room to grow in 2026, this setup is hard to beat.