
A lead generation funnel is a system that captures contact information (like email addresses) in exchange for something valuable, such as a discount, free guide, or webinar. With Leadpages, building an effective funnel is easy, thanks to its drag-and-drop builder, high-converting templates, built-in forms, and analytics.
In this guide, we’ll walk through how to set up a lead generation funnel using Leadpages, covering everything from choosing a template to optimizing conversions.
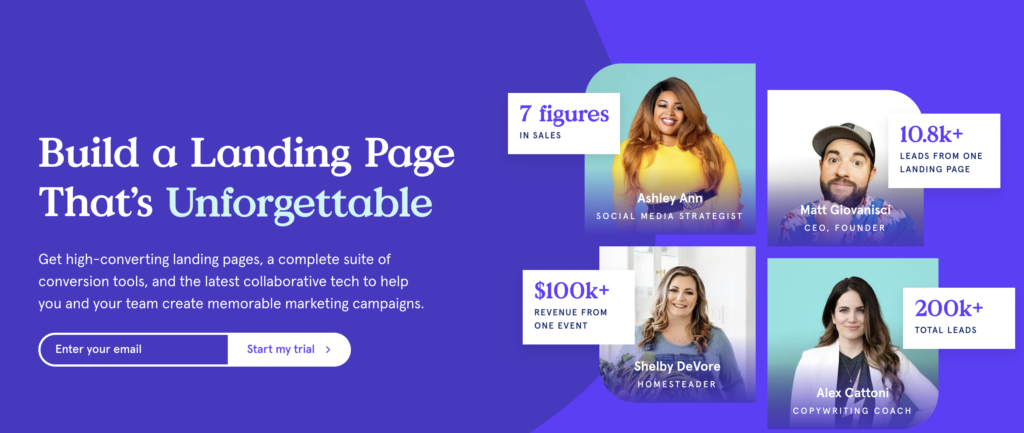
Watch our full YouTube tutorial for a step-by-step walkthrough:
Step 1: Choose a High-Converting Template
Leadpages offers a variety of templates designed specifically for lead generation. To get started:
- Log into Leadpages and go to the Templates section.

- Select a lead generation-focused template (e.g., one optimized for email signups or webinar registrations).
- Preview and choose a template that aligns with your offer.

Pro Tip: Pick a template that is simple, clean, and conversion-focused. Avoid clutter and distractions.
Step 2: Customize Your Landing Page
Once you’ve chosen a template, it’s time to personalize it to match your brand.
- Use the drag-and-drop editor to edit sections, headlines, and images.
- Customize colors, fonts, and branding elements to ensure consistency.
- Add compelling headlines and subheadlines that clearly communicate the offer.
- Include an eye-catching call-to-action (CTA) to guide visitors toward signing up.
Pro Tip: Keep the messaging clear and benefit-driven to maximize signups.
Step 3: Add an Opt-In Form
Your opt-in form is the key element of your lead generation funnel.
- Drag and drop the opt-in form widget onto your landing page.
- Customize the form fields (name, email, phone number, etc.).
- Set up an incentive or lead magnet (e.g., free guide, discount, or exclusive webinar access).
- Connect your email marketing platform to Leadpages for automated follow-ups.
Pro Tip: Ask for minimal information to reduce friction. Name and email are often enough.
Step 4: Create a Thank You Page
After visitors submit their information, direct them to a thank you page that confirms their submission and delivers the promised offer.
- Select a thank you page template from Leadpages.
- Customize the page with a confirmation message and the next steps.
- Provide access to the lead magnet (download link, coupon code, or webinar details).
Pro Tip: Add a secondary call-to-action, such as a social media follow or an invitation to a webinar.
Step 5: Use the AI Writing Assistant to Generate Copy
If writing copy isn’t your strength, Leadpages has an AI writing assistant that helps generate high-converting text.
- Select any text section and activate the AI copy assistant.
- Input a few details about your offer and let the AI generate compelling copy.
- Edit and refine the copy to match your brand voice.
Pro Tip: Keep your messaging concise and benefit-focused to drive action.
Step 6: Publish and Optimize Your Funnel
Once your landing page and thank you page are set up:
- Preview and test the funnel to ensure everything works smoothly.
- Publish your funnel and share the link across social media, emails, and ads.
- Monitor performance using Leadpages analytics.
- A/B tests different headlines, CTAs, and images to optimize conversions.
Pro Tip: Track conversion rates and tweak your page as needed for better results.
Why Lead Generation Funnels Are Essential
A well-optimized lead generation funnel helps:
- Capture leads automatically, growing your email list.
- Guide visitors towards a clear action, improving conversion rates.
- Build trust with potential customers, increasing engagement.
- Provide value upfront, creating long-term relationships.
Why Choose Leadpages for Lead Generation?
Leadpages offers several advantages over other landing page builders:
- Easy-to-use drag-and-drop builder – No coding required.
- High-converting templates – Designed for lead generation.
- Built-in opt-in forms – Seamless email marketing integration.
- Analytics and A/B testing – Optimize performance.
- Affordable pricing plans – Flexible options for all business sizes.
Final Thoughts: Start Building Your Lead Funnel Today
Creating a lead generation funnel with Leadpages is one of the easiest ways to capture leads and grow your business. By following this step-by-step guide, you’ll have a high-converting funnel up and running in no time.
- Choose a high-converting template.
- Customize the design and copy.
- Add an opt-in form and thank you page.
- Optimize and track results with Leadpages analytics.
Use our exclusive link to get started with Leadpages today and start building your lead generation funnel effortlessly.