
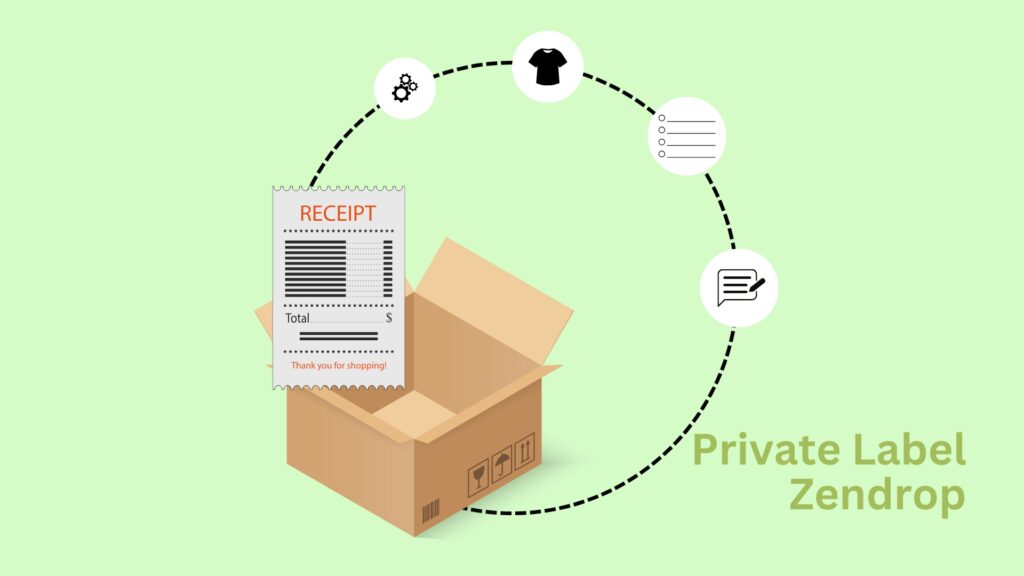
Want to launch your own brand without worrying about inventory or shipping? Private labeling with Zendrop makes it possible. You can go from idea to selling your own branded products like water bottles, candles, or gadgets using a simple Shopify store and Zendrop’s backend fulfillment.
This guide walks you through the exact steps to start a private label business using Zendrop. Even if you’ve never launched a product before, you can follow this and get started today.
Step 1: Sign Up for a Free Zendrop Account
Go to Zendrop and sign up for a free account. You don’t need to commit to a paid plan right away.

Once you’re in, take a few minutes to click through the dashboard. Zendrop is built for beginners, and the layout is easy to understand. You’ll use this dashboard to find products, contact suppliers, and manage fulfillment.
Step 2: Find a Product to Private Label
Start by searching the Zendrop product catalog. You can filter by category or use keywords. For example, if you’re interested in wellness, try searching for “glass water bottle” or “aromatherapy diffuser.”
Pick a product you’d be proud to sell. Avoid super generic items and instead look for something you can build a brand around. A great example is a reusable water bottle with sleek design and eco-friendly materials.
Order a sample. You want to check the product quality before you invest in branding.
Step 3: Prepare Your Branding Assets
You don’t need to be a designer to create a brand.
Choose a brand name that fits your product. For the water bottle, you could go with something like “Fresh Sip.”
Then, create a logo and brand colors using free tools like Canva. Use consistent fonts and color palettes so your brand looks legit.
If you’re stuck, use ChatGPT to brainstorm name ideas or Canva’s templates to build quick logo drafts.
Step 4: Contact Zendrop for Private Labeling
Now that you’ve chosen your product and created branding, it’s time to start the private labeling process.
Zendrop doesn’t list every private label option on the site. You’ll need to contact their support or chat with a representative inside the platform. Look for the live chat icon or go to the support center and ask to speak with a branding specialist.
Tell them you want to sell a specific product with your logo and custom packaging.
Ask for:
- Minimum order quantity (MOQ)
- Custom packaging options (e.g., boxes, inserts, stickers)
- Any one-time setup fees for logo printing
- The estimated cost per unit
Zendrop will reply with a quote and timeline. Once you approve the pricing and MOQ, they’ll get to work on your custom items.
Step 5: Confirm Product Details and Pricing
Before you approve anything, double-check:
- Your logo file and placement
- The packaging design
- Shipping times and fulfillment estimates
- Final per-unit cost after customization
Run the numbers. If Zendrop says your water bottle costs $6 per unit with branding, you’ll want to sell it for $20 to $25 to hit healthy profit margins after Shopify fees and advertising.
Step 6: Add the Product to Your Shopify Store
Now that your private label product is ready, it’s time to list it on your store.
If you haven’t created a Shopify store yet, start with their $1 for 3 months deal. Once inside, install the Zendrop app from the Shopify App Store.
In Zendrop, click “Add to Store” on your product. This will sync the product with your Shopify catalog. You can now customize the product title, description, price, and images.
Tip: Add lifestyle images to help your product stand out. Use Canva or hire a designer for $5 to $10 on Fiverr.
Step 7: Launch and Start Selling
Before going live, make sure your website is set up with:
- A clean homepage
- Trust signals (like reviews or secure checkout badges)
- A clear product page with multiple images
- An “About Us” or brand story section
When you’re ready, remove the password from your Shopify store and start promoting your product.
Use TikTok, Instagram Reels, or even Facebook Reels to create short videos about your product. Since it’s branded, your videos will look more trustworthy and unique.
Communication is Everything
Don’t be afraid to reach out to Zendrop’s team. A big part of private labeling is working closely with your supplier. Ask questions, request samples, and get clarity on timelines. Zendrop’s team is used to working with new sellers and can help you navigate the process step by step.
Final Thoughts
Starting your own private label brand doesn’t require a warehouse or tons of cash. With Zendrop and Shopify, you can build and sell your own branded products from home and look like a real brand from day one.
If you’re serious about launching your first store, make sure to sign up for Zendrop and use Shopify’s $1/month offer to keep startup costs low.
If you haven’t signed up for Shopify yet, now is the perfect time to start. Shopify is built for everyone, giving you everything you need to launch your store, sell your products, and manage your business in one place. Plus, they’re offering a special deal where you can get started for just $1 for your first 3 months.