
If you’re running a Shopify store and want to increase sales without burning money on ads, email marketing is your best friend. And if you’re looking for a powerful yet beginner-friendly tool, Omnisend is one of the best options available. It helps automate email and SMS campaigns, recover abandoned carts, and build stronger relationships with your customers, on autopilot.
In this guide, I’ll walk you through how to set up Omnisend with Shopify step by step. No tech headaches. No confusion. Just a clear path to getting your store ready to make more sales through smarter marketing.
Why Use Omnisend with Shopify?
Shopify is great for selling, but its built-in marketing features are limited. You can’t easily automate welcome emails, cart recovery flows, or send product-specific emails. That’s where Omnisend comes in.
With Omnisend, you can:
- Set up email automations in minutes
- Send SMS messages alongside your emails
- Create popups and forms to grow your list
- Track revenue from each campaign
- Recover abandoned carts automatically
- Personalize messages based on customer behavior
It’s built for ecommerce, and it plugs directly into Shopify.
Step 1: Create Your Omnisend Account
Sign up with Omnisend for a free account. You don’t need a credit card to start.
During the setup, it will ask you which platform you use. Choose Shopify and click Connect Store.
If you’re already logged into your Shopify admin, Omnisend will connect automatically. If not, it will prompt you to log in.
Step 2: Install the Omnisend App on Shopify
Once your account is created, go to the Shopify App Store, search for Omnisend, and click Add app. Approve the installation.
This lets Omnisend sync your products, customers, orders, and abandoned carts with your email and SMS tools. It’s a one-time setup.
Step 3: Import Your Customer List
After integration, Omnisend will pull in your Shopify contacts. But if you already have email lists from other platforms like Mailchimp or Klaviyo, you can import them too.
Go to Audience > Contacts in Omnisend and click Import Contacts. You can upload a CSV file or copy-paste emails directly. Just make sure they’ve opted in.
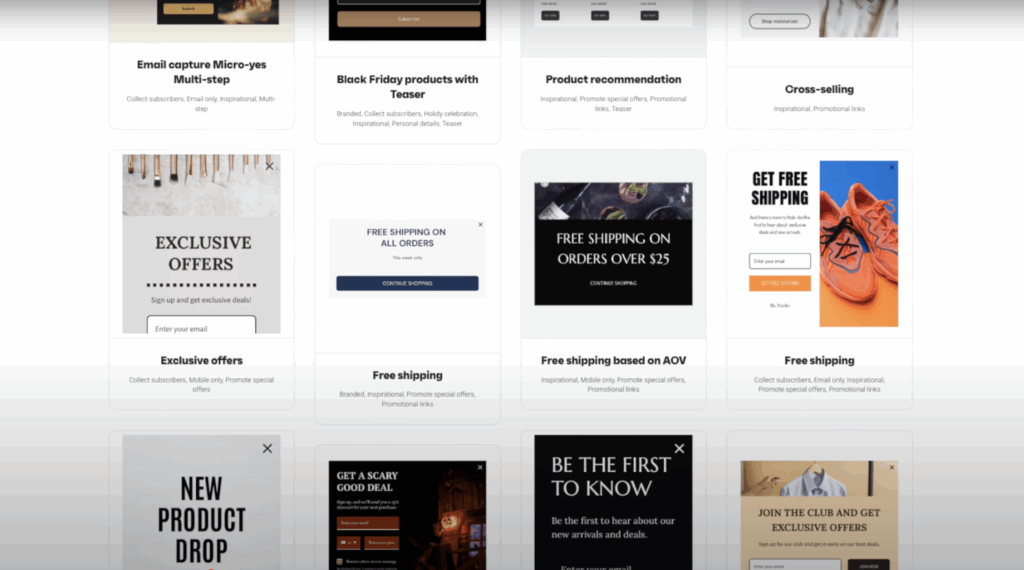
Step 4: Create a Signup Form to Grow Your List
Now it’s time to grow your list with a pop-up or embedded form.
Inside Omnisend, go to Forms > Create Form. Choose a pop-up or a sticky bar. Customize the design, headline, and call-to-action.
Make sure to connect it to a welcome email automation. You can offer a discount code as an incentive. Once your form is ready, click Publish, and it will go live on your Shopify store automatically.
Step 5: Set Up Your First Email Automation
Go to Automation > New Workflow in Omnisend.
Here are three powerful automations to start with:
- Welcome Series: Sends a message when someone signs up
- Abandoned Cart: Sends a reminder if someone leaves without buying
- Order Confirmation: Sends a receipt and thank-you note
Choose a workflow and customize the email design. Add your logo, product images, and a personal message. Omnisend makes it drag-and-drop easy.
Once you’re happy, turn it ON, and it will start working right away.
Step 6: Send Your First Campaign
Want to promote a sale or announce a new product?
Go to Campaigns > New Campaign and choose Email.
Write a subject line that grabs attention, choose your email template, and add your content. You can insert product blocks, discount codes, and countdown timers with a few clicks.
Before sending, click Preview and send a test email to yourself. If it looks good, hit Send Now or schedule it for later.
Step 7: Track Results and Optimize
Omnisend’s reporting is built to show you exactly what’s working.
Go to Reports, and you’ll see:
- Open and click rates
- Sales generated from each campaign
- Top-performing emails
- Subscriber growth
You can also A/B test subject lines and email designs to see what your audience responds to best.
Bonus: Use SMS for Higher Conversions
Don’t sleep on SMS. Omnisend lets you add SMS messages to your automations.
For example, you can send an abandoned cart text one hour after someone leaves your site. Or send a product launch text to your VIP customers. Just make sure you collect phone numbers using your signup forms and get proper consent.
If You Don’t Have Shopify Yet, Here’s Your Reason to Start
Shopify gives you the structure to sell. Omnisend gives you the power to scale. If you’re still building on random platforms or waiting for the perfect moment to launch, this is your sign.
Shopify’s beginner plans start at just $1 for the first month, and with tools like Omnisend, you can build a high-converting store without coding or hiring a team. Whether you’re selling digital products, dropshipping, or building your own brand, this combo gives you full control.
Final Thoughts
Setting up Omnisend with Shopify is one of the easiest ways to boost your email and SMS marketing without burning out. It saves time, recovers lost sales, and helps you build a real relationship with your customers.